VS Code is a powerful Code editor and a must have item in a developers toolkit. It is available on pretty much every platform like Windows, MacOS and even on Linux but what if you want to edit your code on-the-go with your iPad/ Android Tablets or in your Chromebook without carrying your bulky laptops all the time, Well, if the question is about coding on the go, you can use vscode.dev, it's awesome browser based VS Code editor but what if you want to access your code library or best your terminal which is in your laptop, what will you do then?
VS Code recently launched preview for VS Code Server which has the sole purpose to let you access your VS Code editor from outside your home without even carrying your main machine. You just have to install the VS Code server daemon on your machine (which you want to access outside your network) and configure it and that's pretty much it.
Here I'm installing VS Code Server on my Raspberry Pi 4 Model B (4GB). It'll support both 32bit & 64bit architecture of Raspberry Pi OS. If you have other Single Board Computers, you can check the requirements. I know it's not a powerful machine and definitely not suitable for compiling codes if you're in a hurry but if you're web developer like me, you can surely do quite a lot with it. Also, if you want to run a server 24/7 you have to keep in mind the power consumption of your server or you'll end up with a high electricity bill.
Steps to install VS Code Server :
- It's always a good practice to update your packages before you install any new application:
sudo apt update && sudo apt upgrade -y
These steps are same if you want to install it on your Mac
- First you have to request access for the VS Code Server Preview by clicking this Signup form.
It is really important or else you won't be able to access your machine outside your network, which you will see in a moment.
- To Install VS Code Server package, type:
wget -O- https://aka.ms/install-vscode-server/setup.sh | sh
This will first download the package and then install it on your Pi.
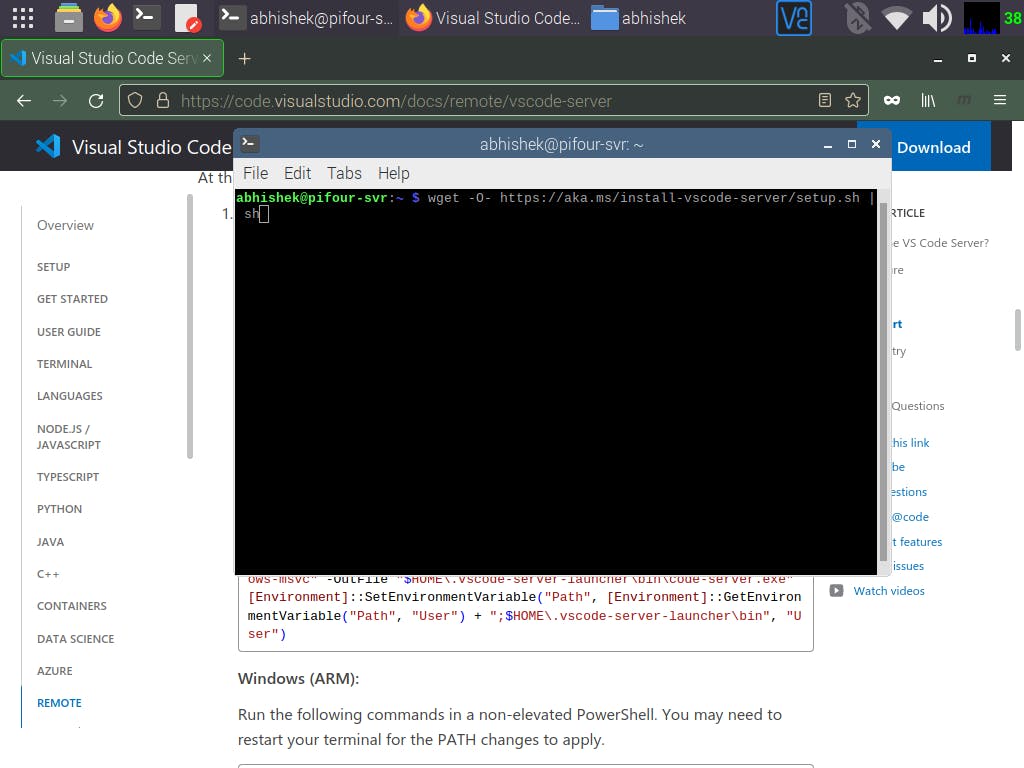
Configuring VS Code Server :
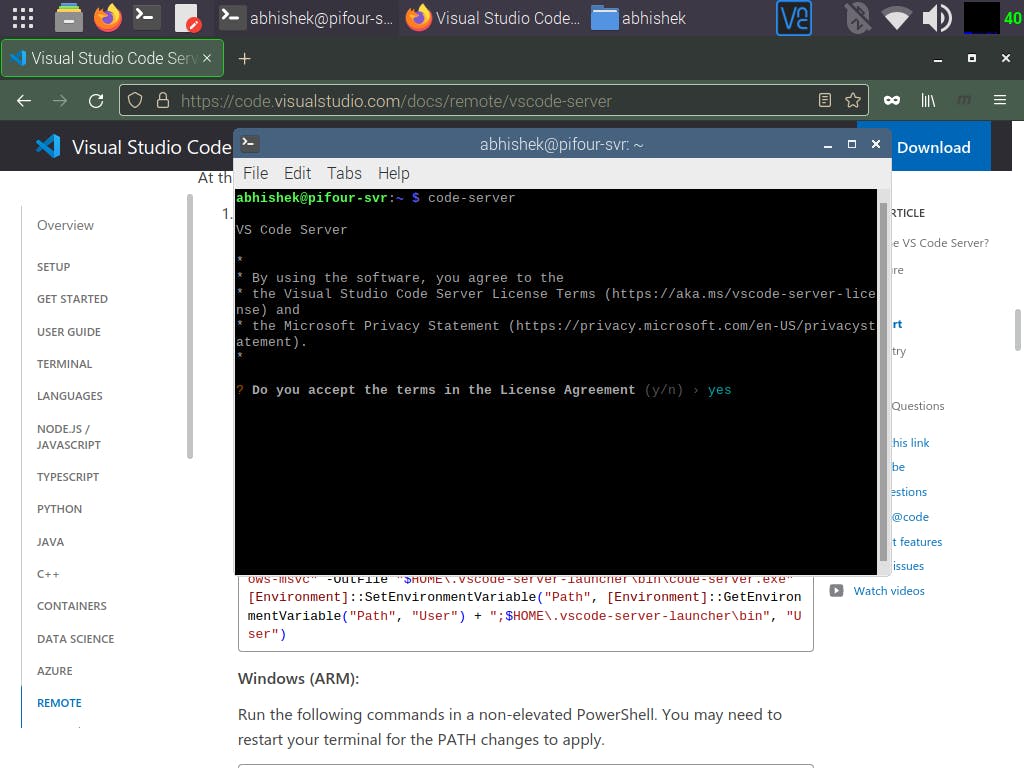
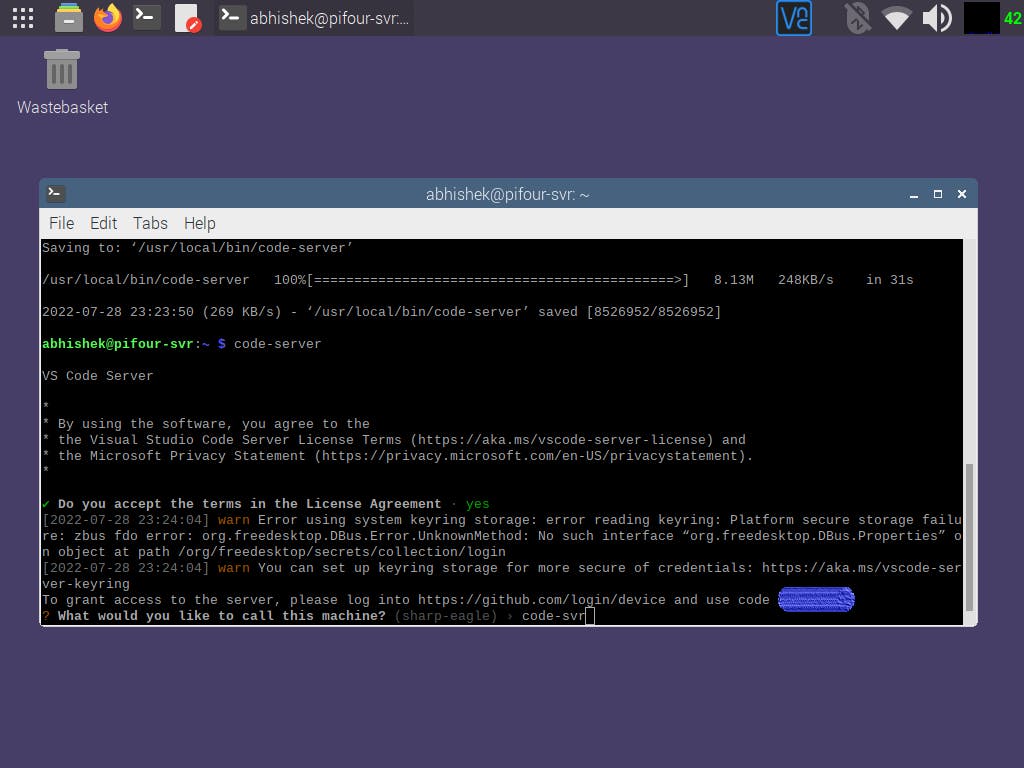
To run VS Code Server, type :
code-serverIt'll ask you to accept the License and Terms :
- Then comes the important step, here the prompt will ask you to login your GitHub account, only then you can access your Editor outside your Network through Microsoft's Tunneling service.
Example - Please enter the code 7644-1186 on https://github.com/login/device
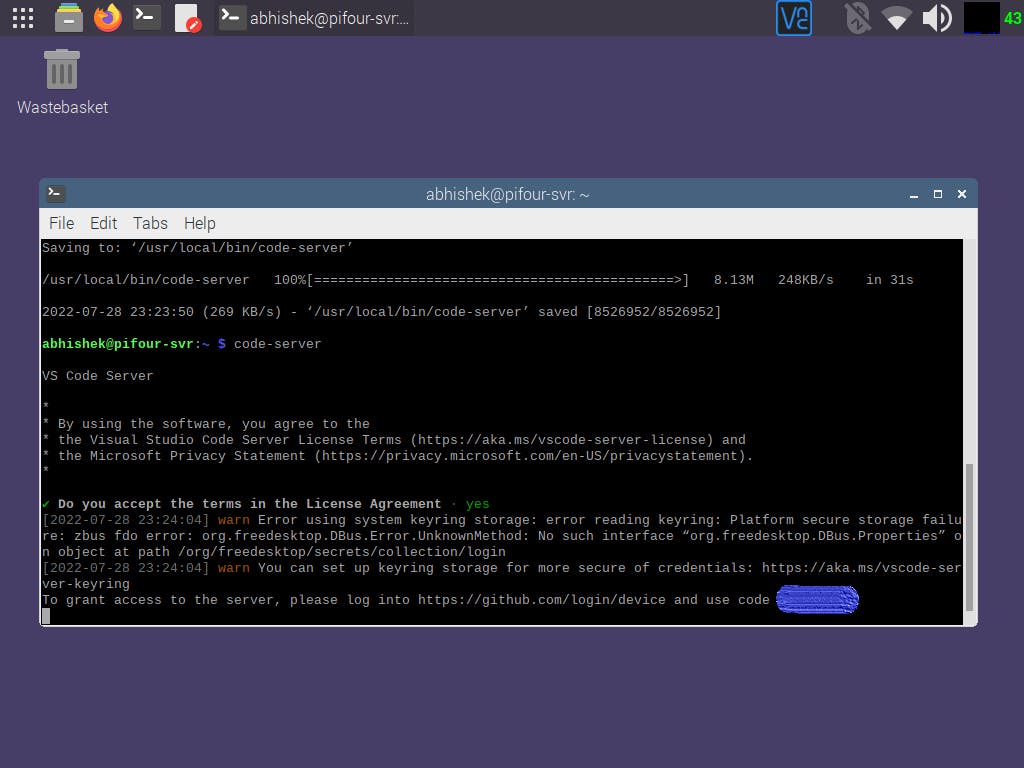
- Once you have logged in, the prompt will ask you to name your server:
Example - What would you like to call this machine? (elegant-pitta) >
- Now you'll get a URL which you can enter in your browser to access your VS Code and Voila, you have a functioning editor:
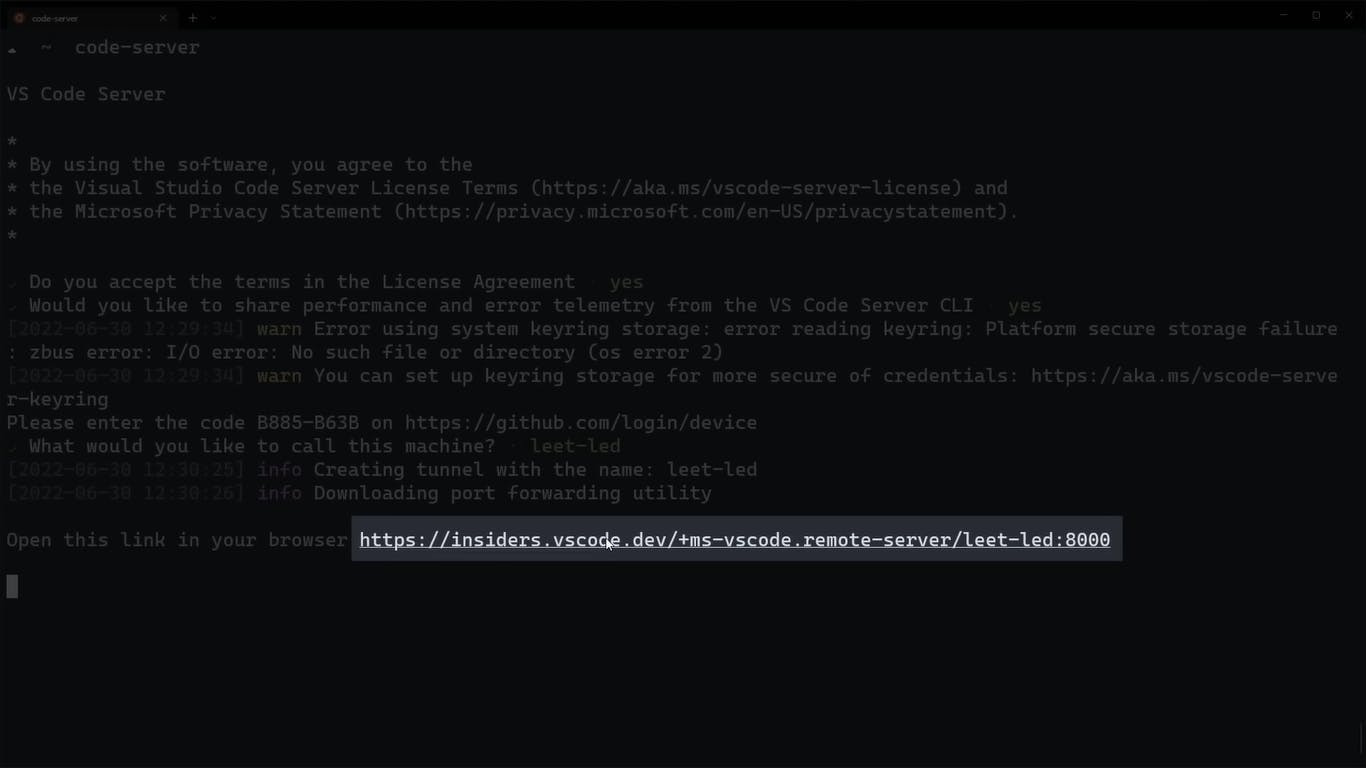
Source: How to use VS Code from ANYWHERE
You can use this same URL on any of your device like iPad, Tablet, Chromebook, etc.
- To Uninstall, type :
code-server uninstall
As I mentioned above, you first have to request access for this preview and it can take up to a week for approval and if you are like me who can't wait a week you can test the preview on your local network as well.
Steps to access VS Code Server on your Local Network:
The installation step will remain same, which I've already cover above.
Run this command, this will unlocks the gnome-keyring and runs the VS Code Server inside of it:
dbus-run-session -- sh -c "(echo 'somecredstorepass' | gnome-keyring-daemon --unlock) && code-server serve-local --host 0.0.0.0"
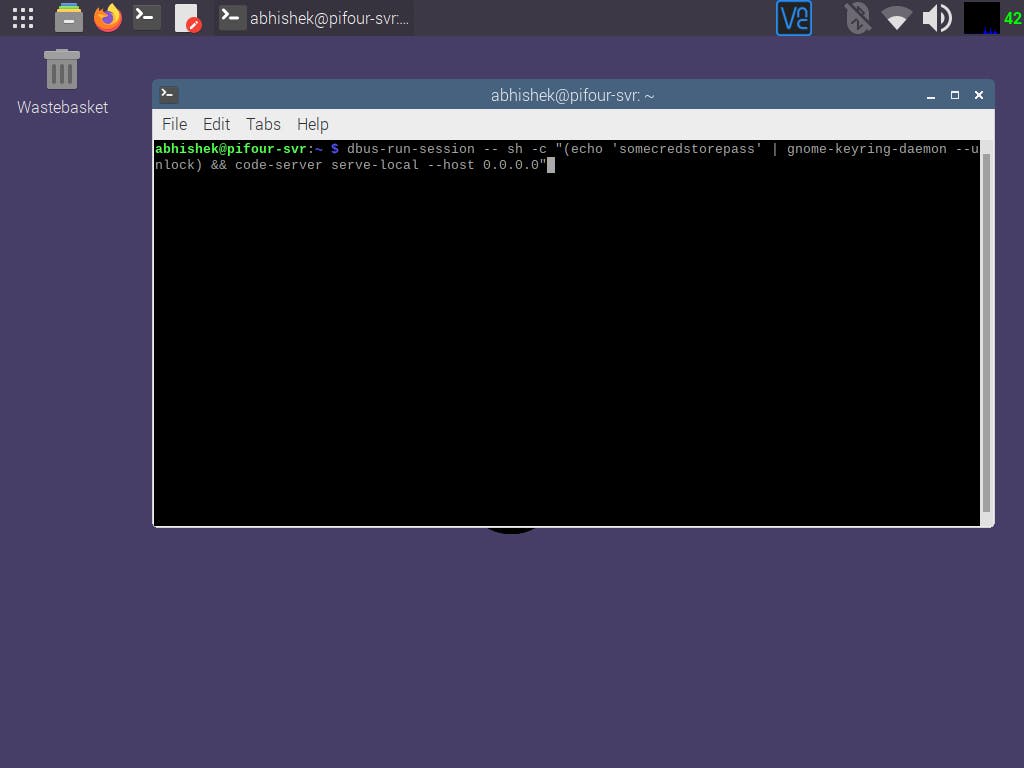
- You can now enter the URL in your browser and replace the
localhostwith thehostnameof your device :
http://localhost:8000/?tkn=7edd4927-3f88-4931-ac24-b24ddeca0c17
# Replace localhost with hostname :
http://192.168.1.7:8000/?tkn=7edd4977-3f88-4931-ac24-a25ddeca0c32
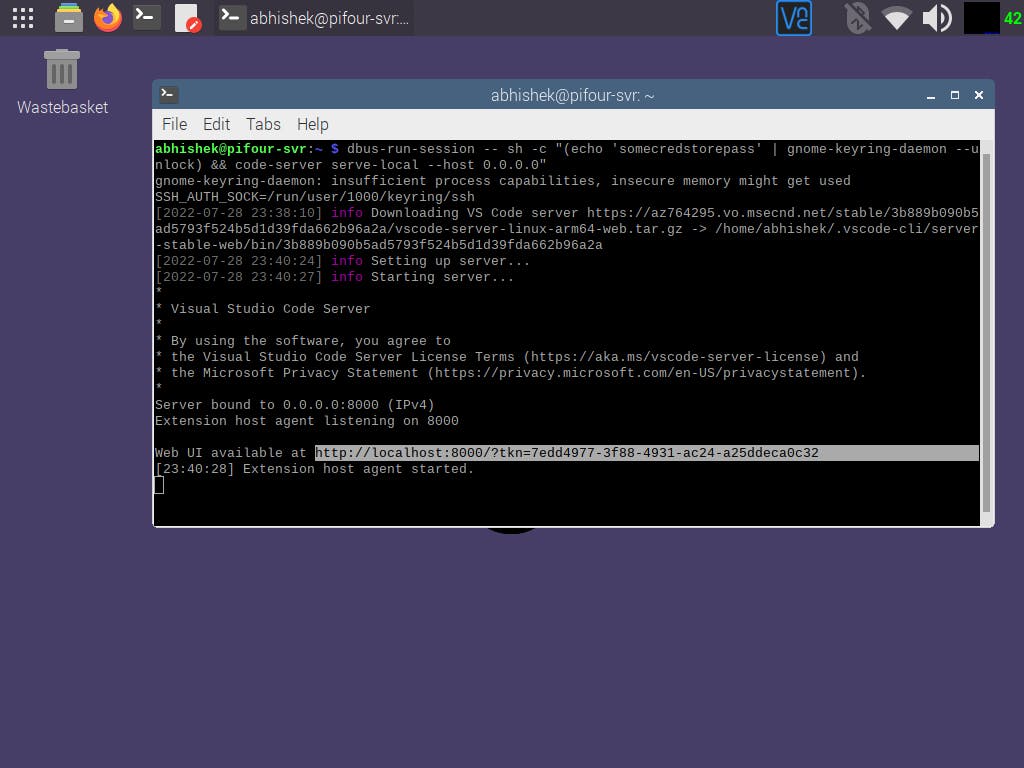
If you don't know your hostname, type
hostname -I.
- Here you go, you now have successfully installed VS Code Server :
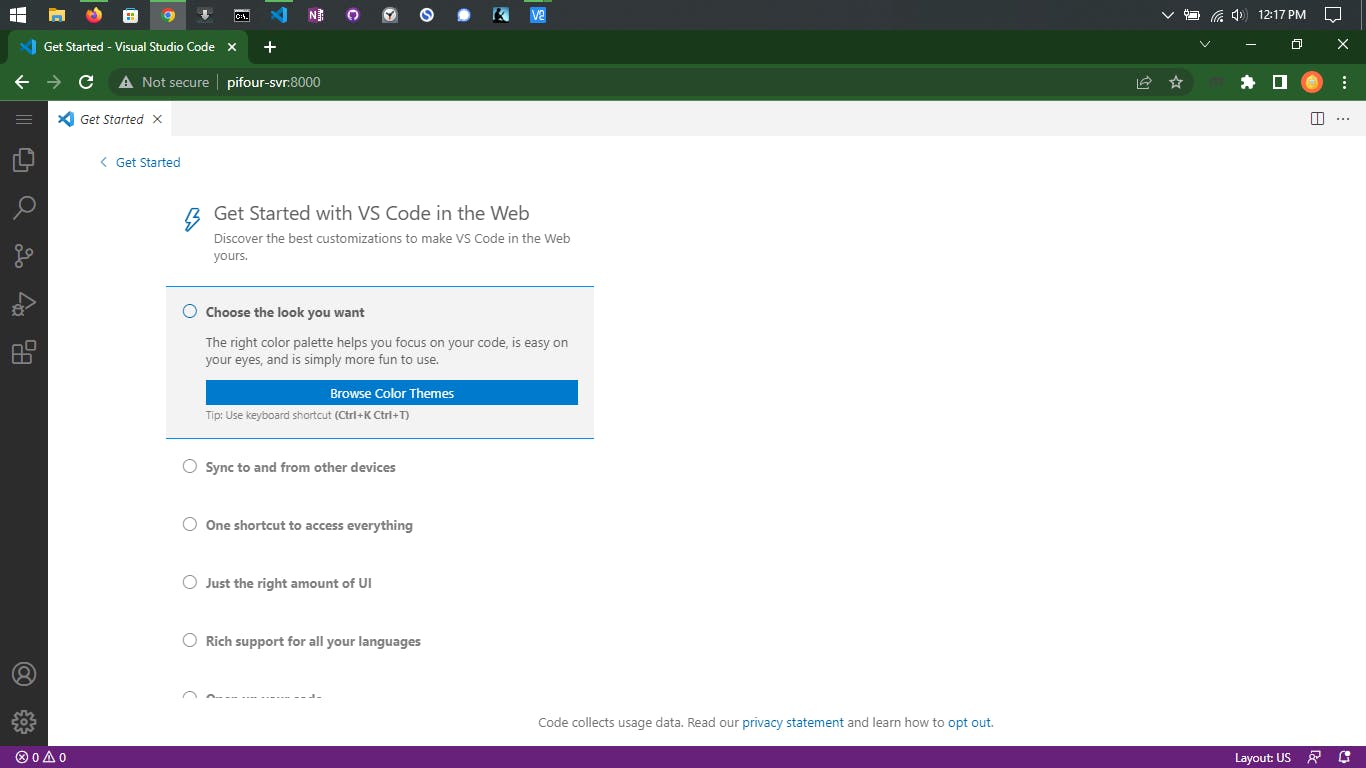
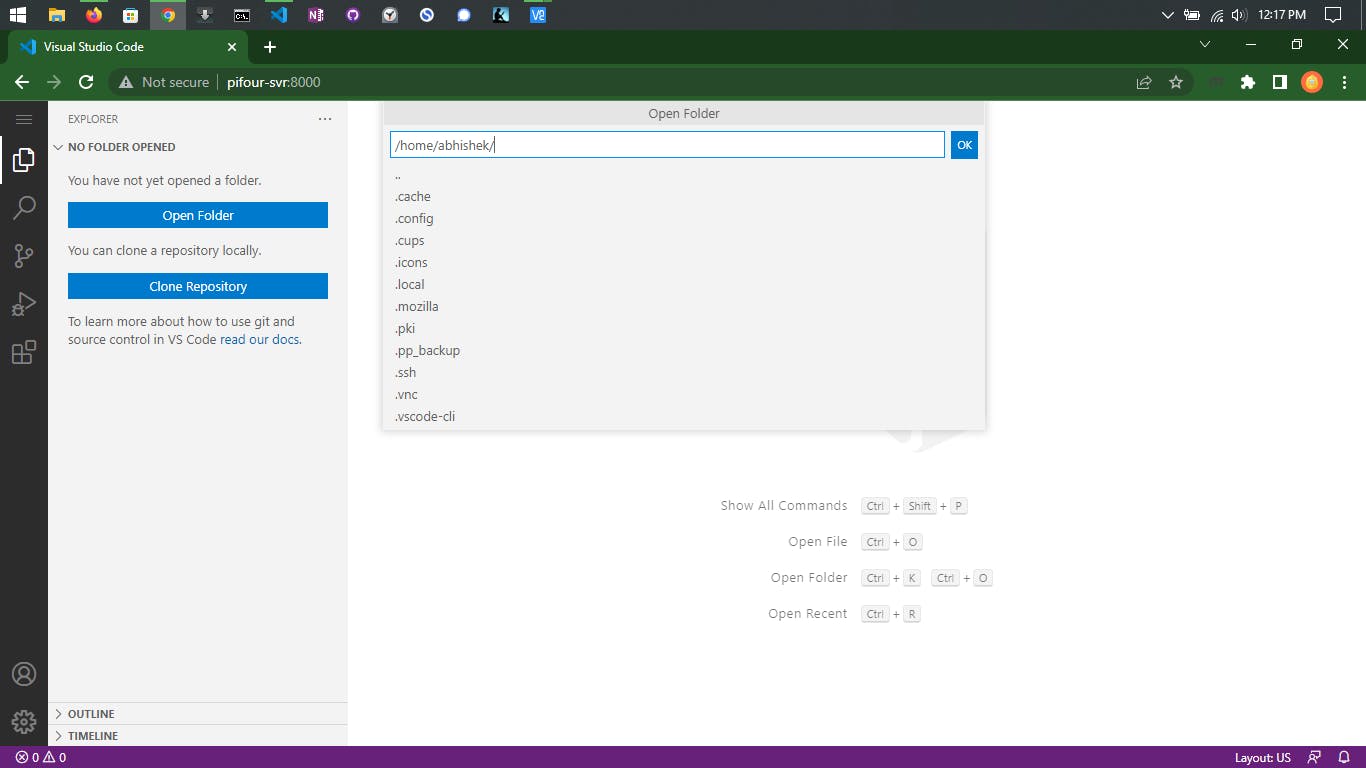
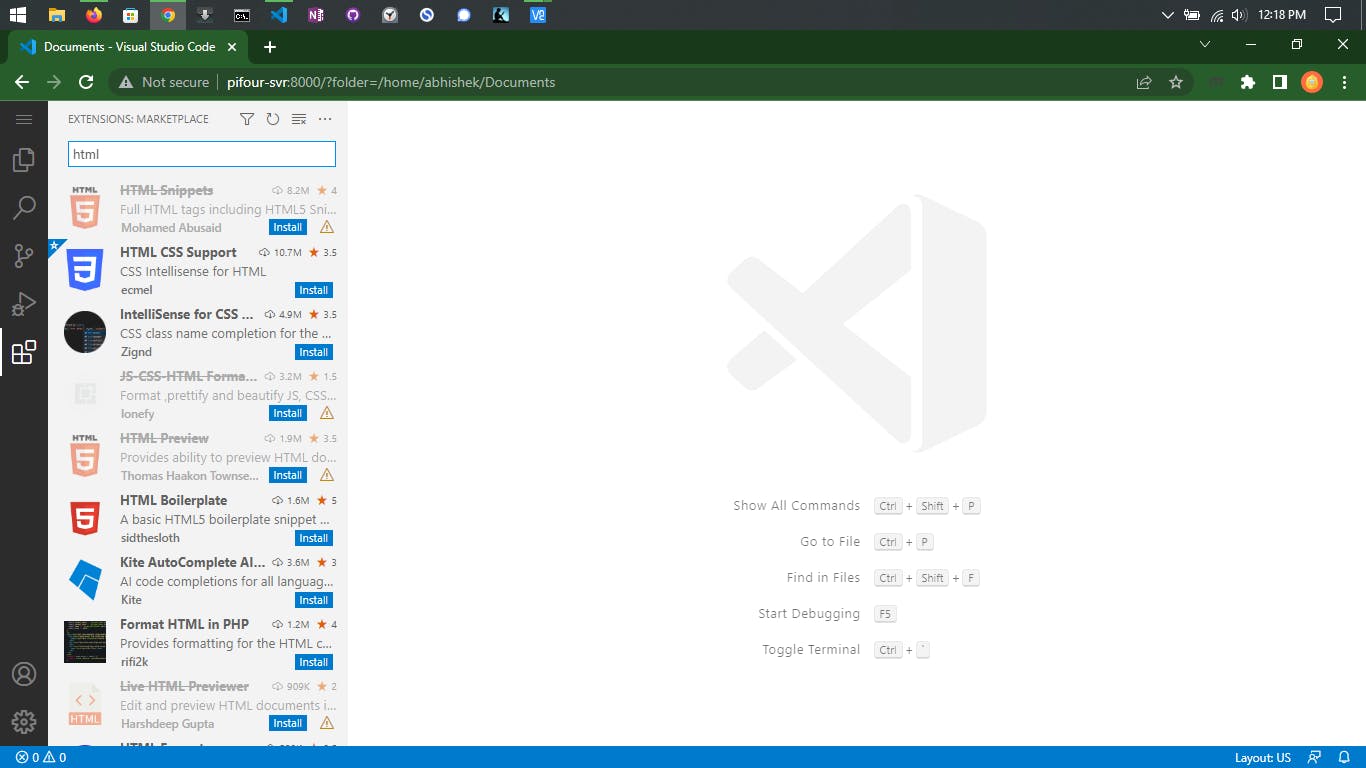
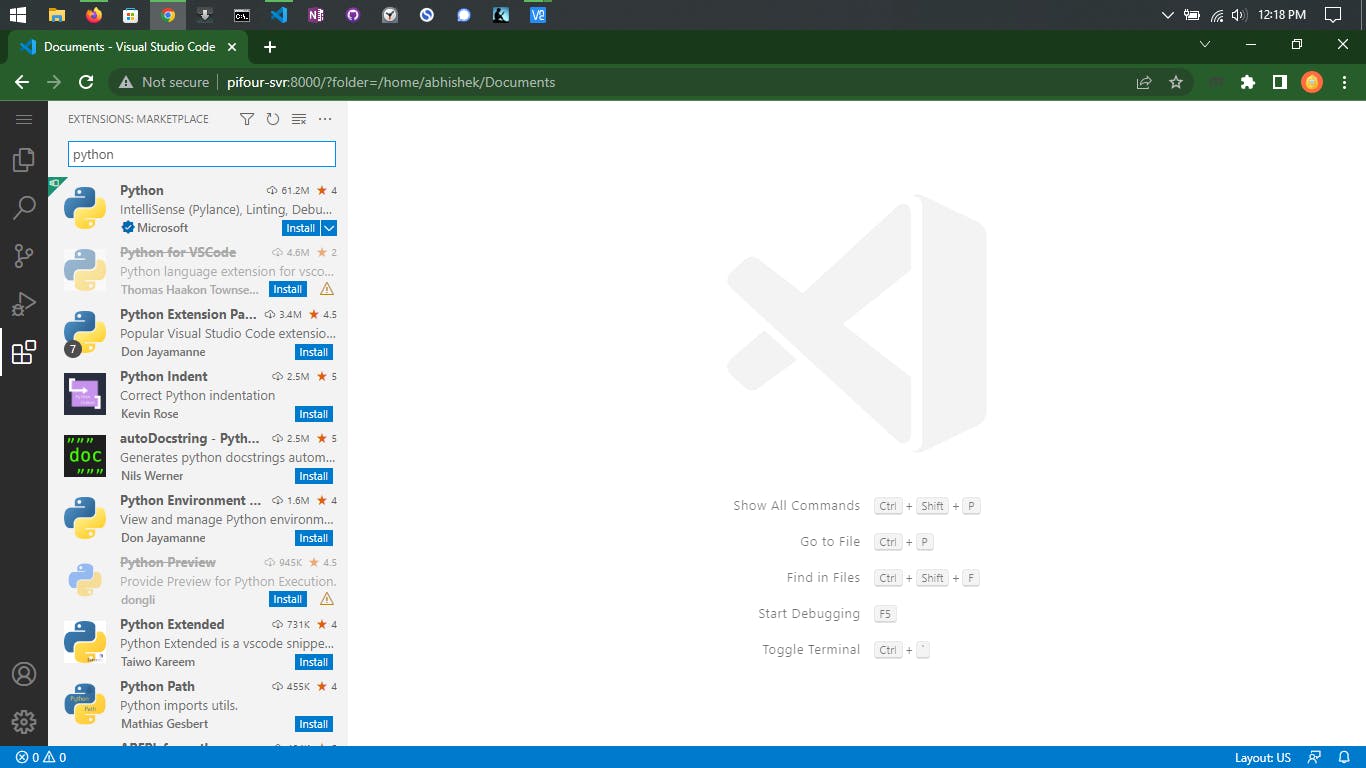
You can do almost everything you would do on your physical VS Code machine like installing Extensions:
Accessing Terminal :
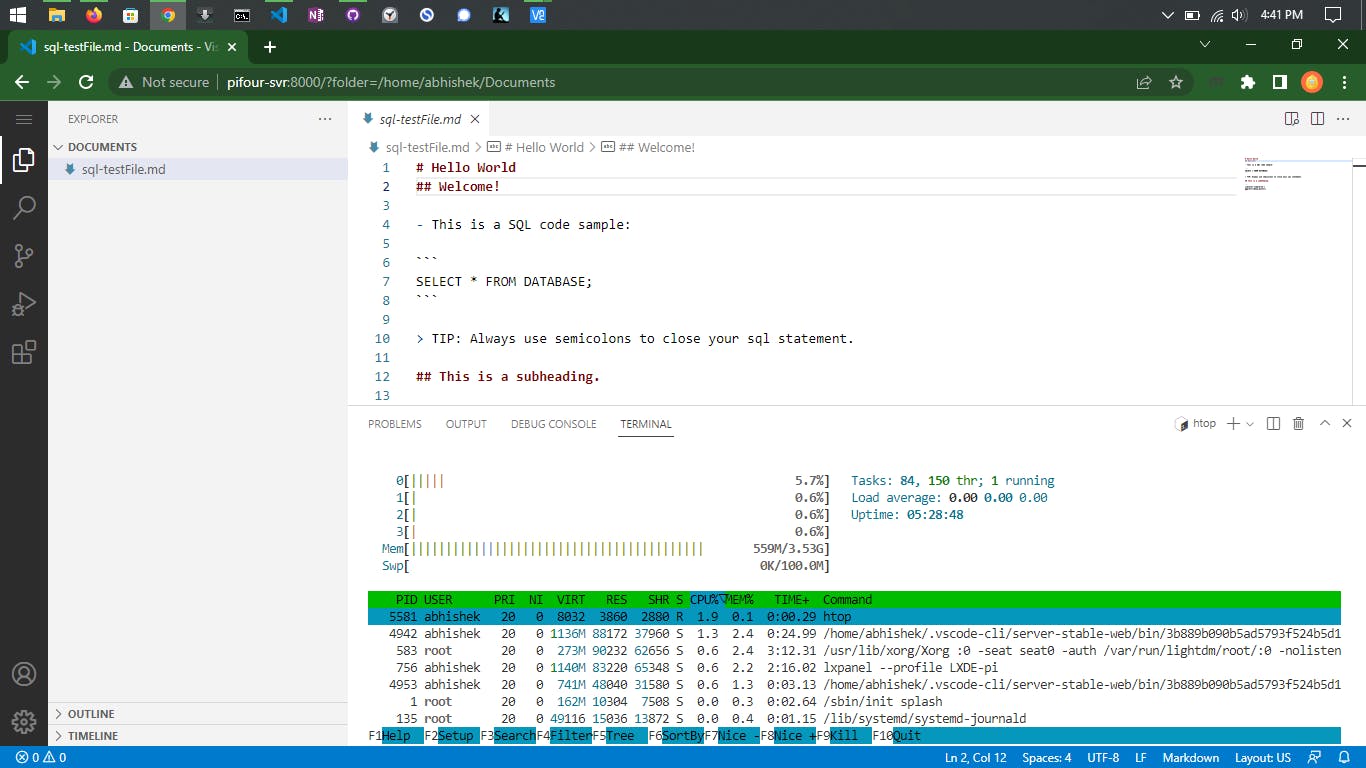 Here I've loaded
 HTOP in my VS Code Terminal
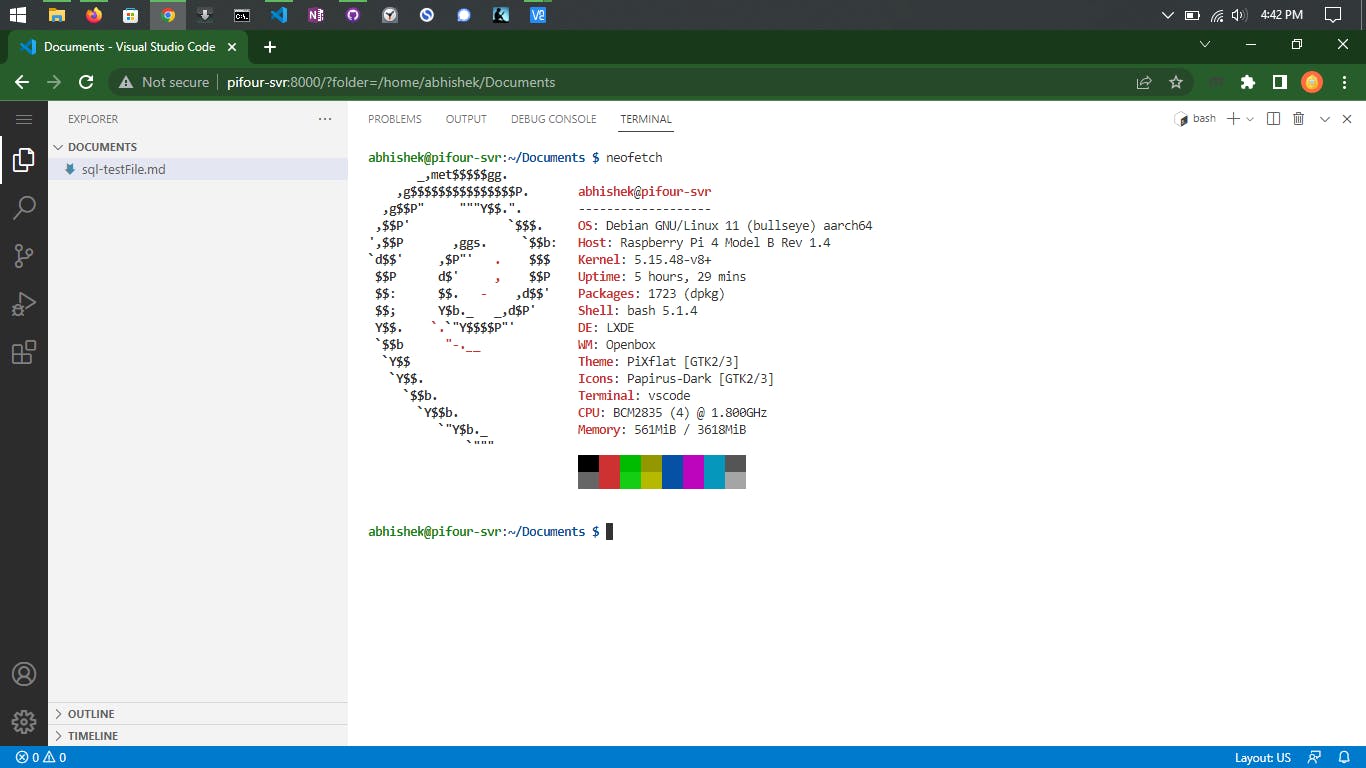 Check out
 neofetch output in the terminal.
I think, this concept of VS Code server is really great and we are going to see some great development in it. I'm already thinking about ditching my laptop whenever I'm out travelling somewhere with just my iPad. Do share your ideas in the comment section about how you guys will use this feature of VS Code.

